Diy brake job?
any diy on replacing the oem front brakes?
teal_dx wrote:no, but it is a pretty standard procedure.
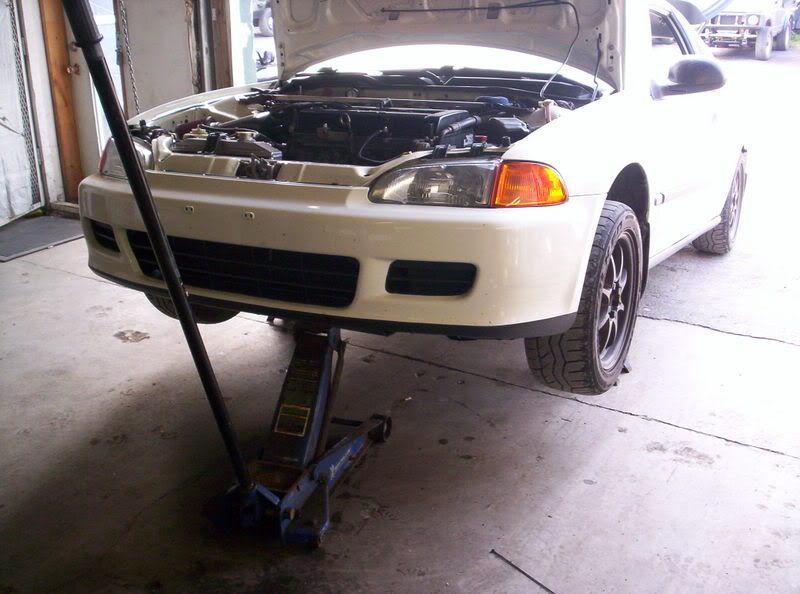
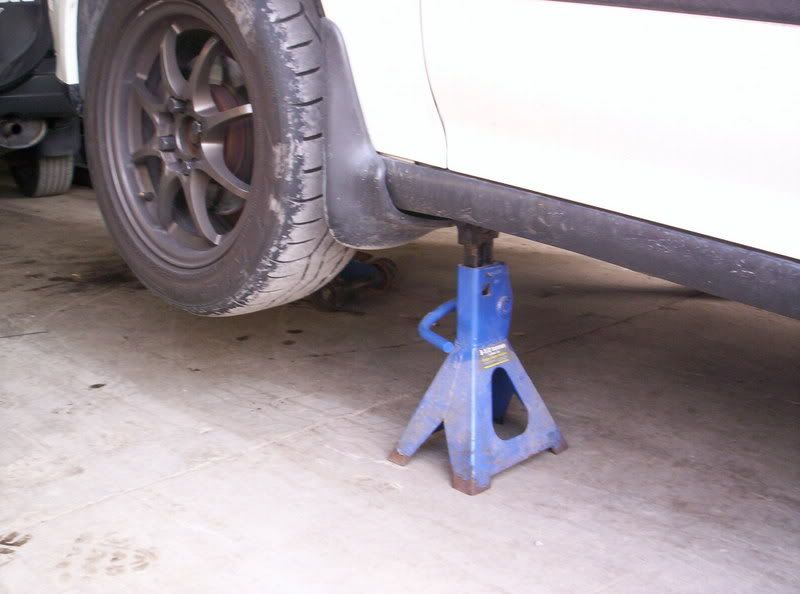
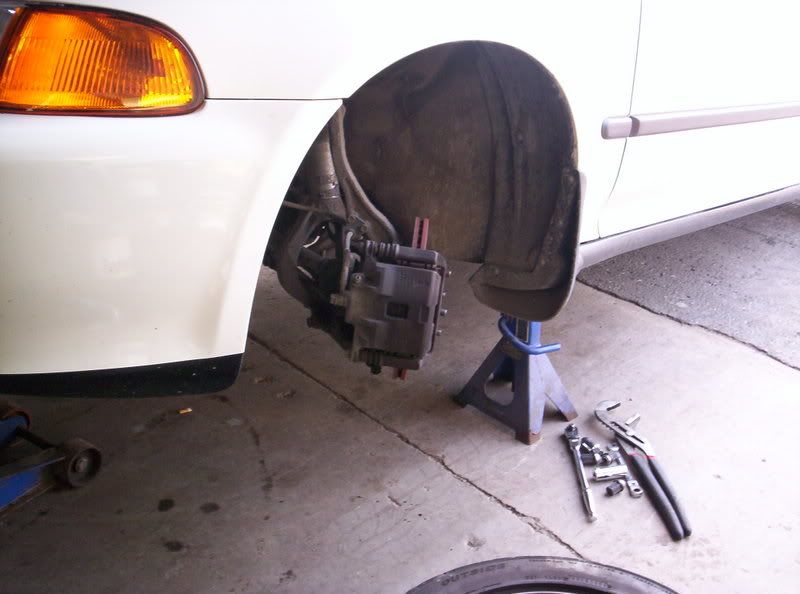
1. car on jackstands.
2. remove wheels.
3. unbolt the brake line brackets from the arm.
4. unbolt the caliper from the back (2 bolts).
5. support the caliper (don't let it hang & put weight on the brake line)
6. **unscrew or drill out the 2 screws holding the rotor on.
(**use a impact screwdriver if bolts dont move. always works, get it at sears. or heat it up)
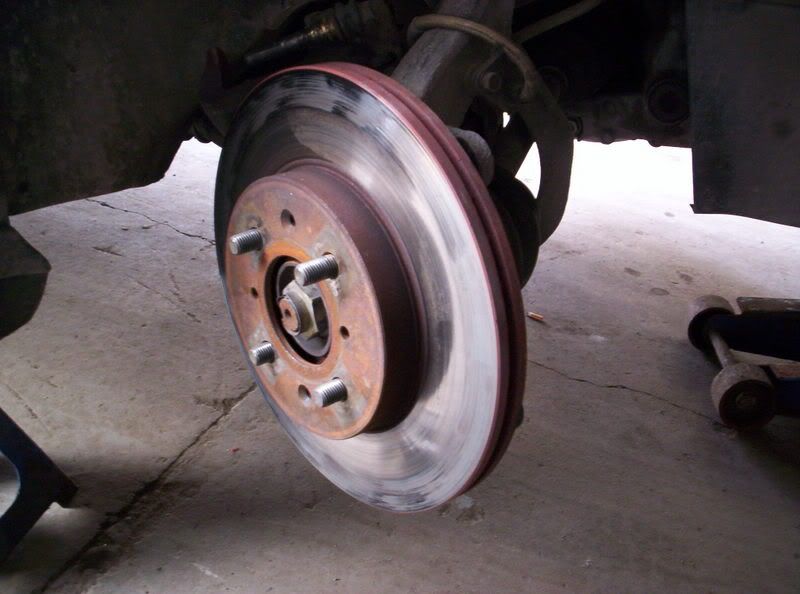
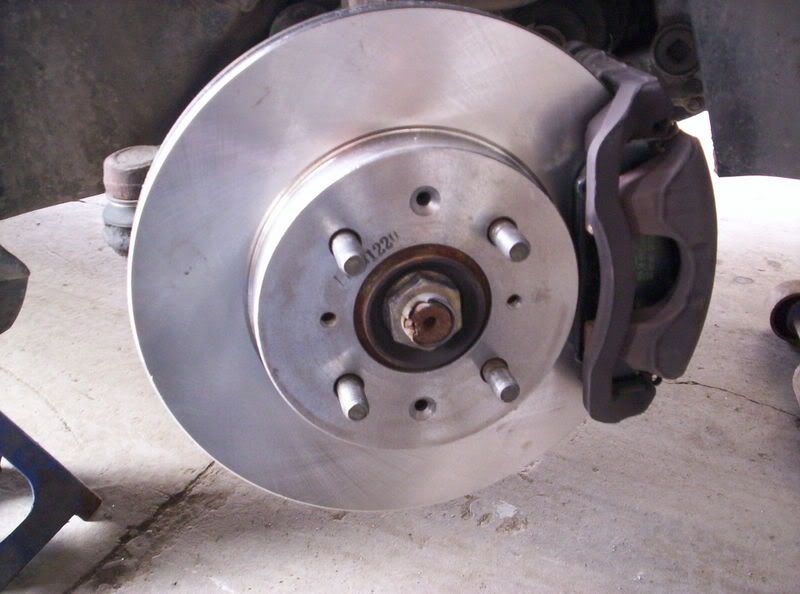
7. remove rotor & replace with new. no need to put the 2 screws back on.
8. use a big C clamp & compress the pads back in the caliper as far as they will go.
(** c clamp works but there is a tool at sears that is made for it and do it slow dont push it fast)
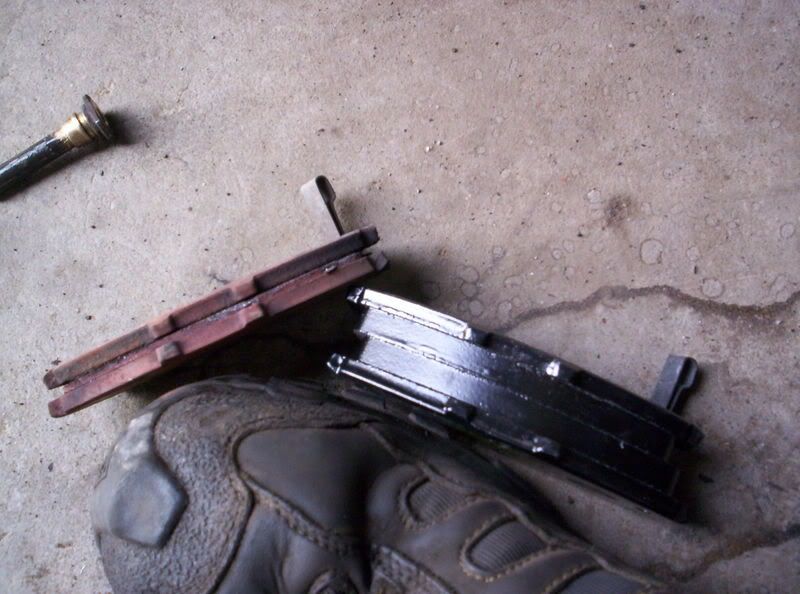
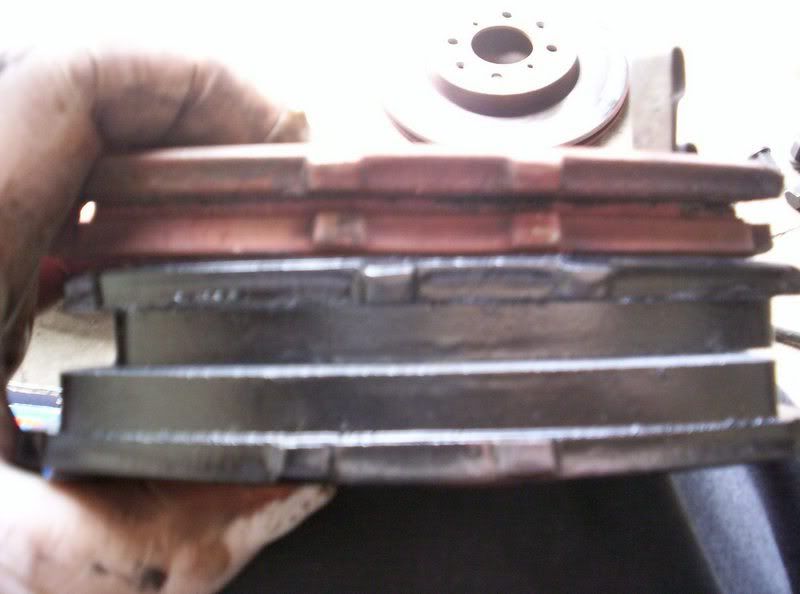
9. pull out old brake pads from caliper
10. put some of that anti squeak gel on the back of the new pads where they contact the caliper and put them in.
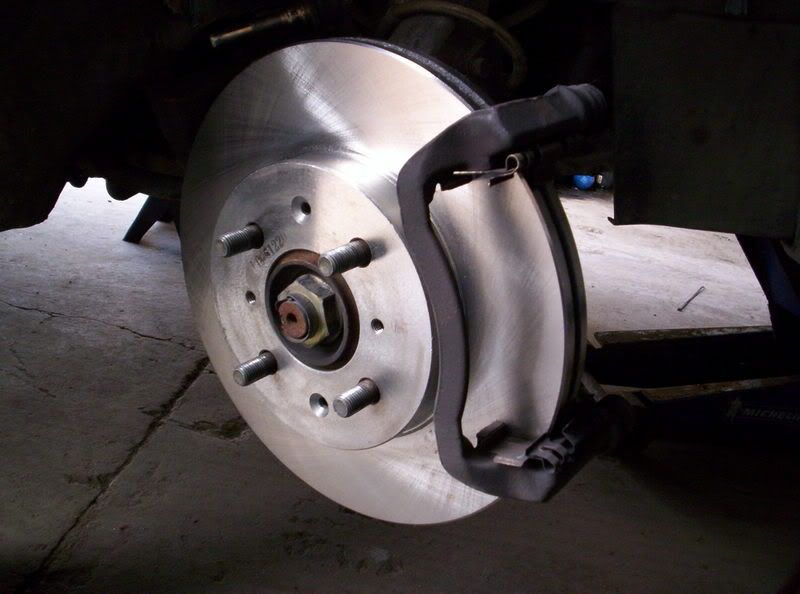
11. put the caliper back on & brake line brackets back on.
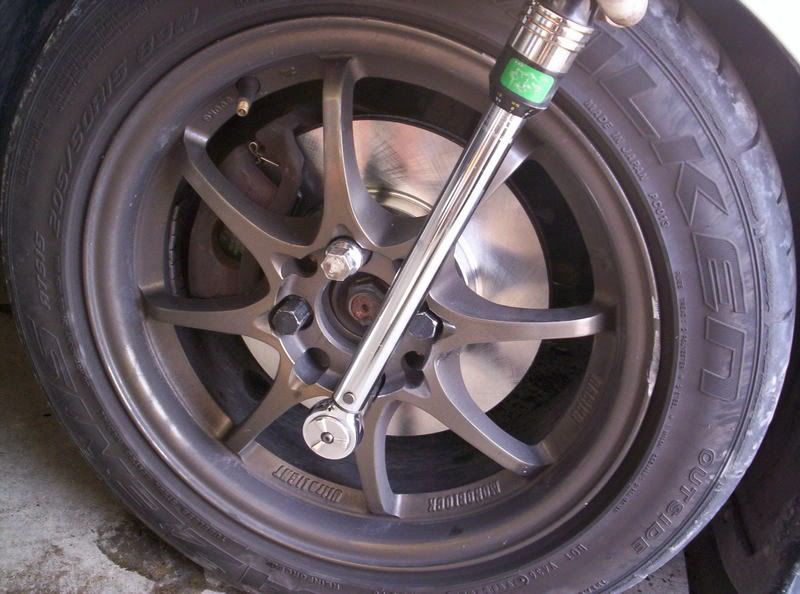
12.* push on brake pedal half way intill it gets hard.
might need a big breaker bar to loosen the 2 caliper bolts, they are tight!


 ui:
ui:teal_dx wrote: 4. unbolt the caliper from the back (2 bolts).
smokinsoljah420 wrote:teal_dx wrote: 4. unbolt the caliper from the back (2 bolts).
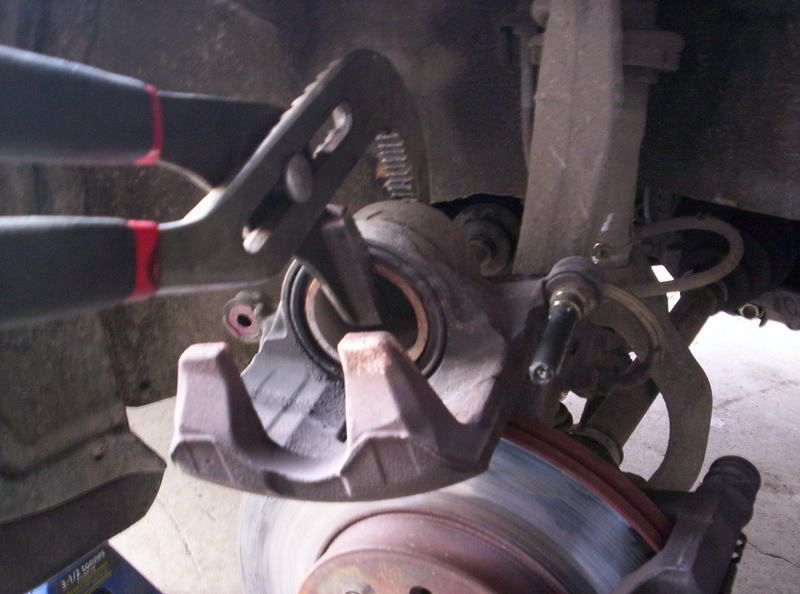
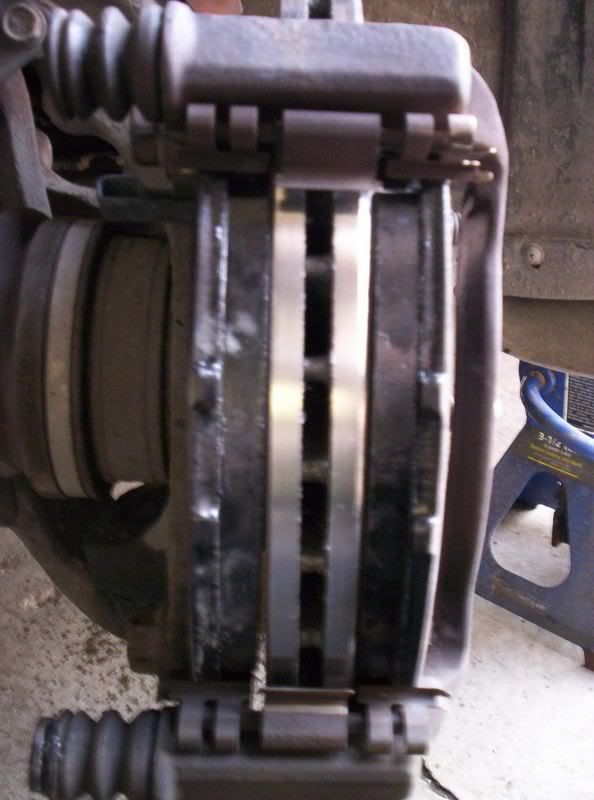
um so im guessing its bad i only have one on each? on my cx the top one (or where its supposed to be) is only a sleeve like thing. plus theres no spot for a bolt and nut. am i just retarted here? ill take a picture tommorow just in case you guys need it.
 ive been driving it like this since ive gotten it. didnt even think twice about it. it does look like its supposed to be like that though.
blockustomz wrote:not saying u cant get luck and drive fine but if that 1 bolt snaps under hard braking say good by to that hatch.. just looking out.. but post picz asap
so yes i would put a bolt in there asap